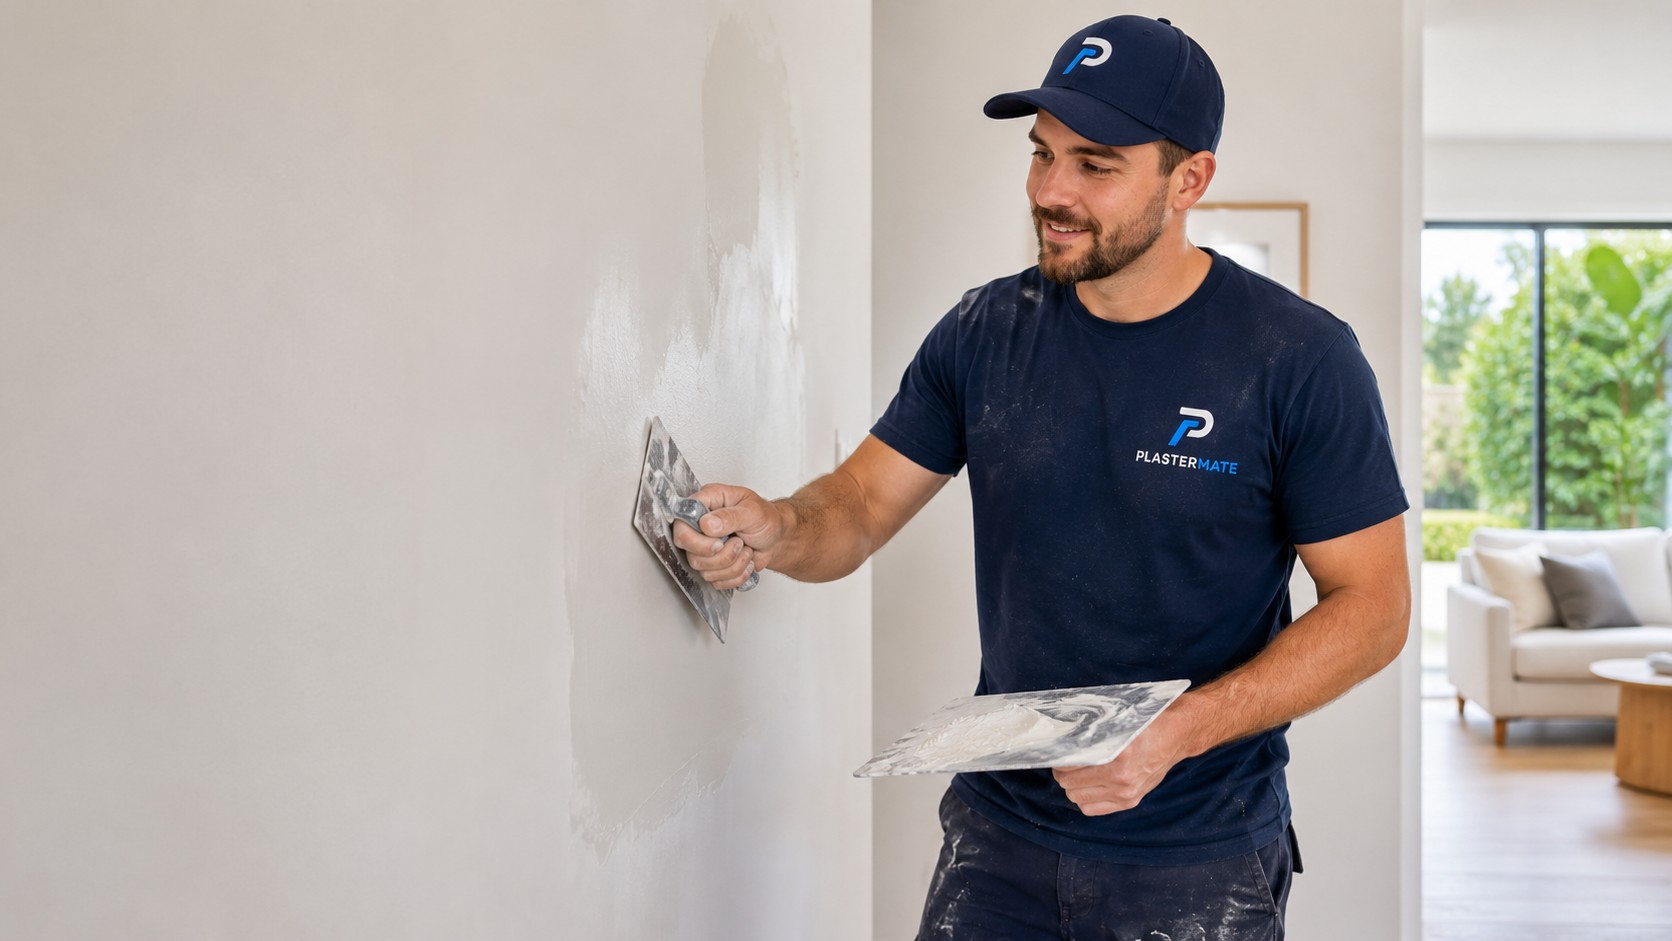
Before the day
A little preparation before the job starts helps the work go faster and keeps disruption to a minimum. Clear the immediate work area of furniture where you can, and let us know in advance about anything that cannot be moved. Take a couple of photos of the wall or ceiling beforehand if there is anything you want to confirm the position of afterward, such as picture hooks or a mirror bracket. If pets will be home, or there is anything unusual about access to the property, mention it when booking so the visit can be planned around it.
On the day — clearing and covering
Drop sheets go down before any sanding or plastering work begins, but it still helps if small, easily-moved items — lamps, ornaments, loose rugs — are out of the room entirely. Furniture that cannot be moved should be pulled away from the work area and covered. If the repair is on a ceiling, it is worth covering a wider area than you might expect, since dust and small debris can travel further than for a wall patch.
Access and practical things
A clear path from the front door or driveway to the work area makes carrying tools and materials in and out much quicker. Having a power point available nearby is useful, and if no one will be home for the full visit, clear instructions for access are appreciated. In busier inner-Melbourne streets, a note about parking availability can also save time on the day. It's worth mentioning any existing damage in the room that is unrelated to the job, just so it's clear what was already there.
Dust and ventilation
Sanding plaster and jointing compound creates fine dust, even with careful technique. Opening a window in the room and closing the door to the rest of the house helps keep it contained. Some residual fine dust on nearby surfaces after sanding is normal and straightforward to wipe down once the job is finished — ceiling repairs in particular tend to generate more of it than a single wall patch.
After the repair
Freshly repaired plaster needs time to dry and cure properly before painting — how long depends on the product used, the thickness of the repair, and the humidity and ventilation in the room, so it's worth checking the expected timeframe with whoever carried out the work. Try to avoid touching or bumping the repaired area while it cures, and hold off painting until it's fully dry for the best, most even finish.
This kind of preparation matters most for small plasterboard installs and larger patch areas, and it's exactly what we ask for ahead of pre-paint plaster repairs, where a clean, dust-controlled surface makes the difference between an average paint job and a great one.
Ready to book a job in?
Get in touch to arrange a time, and we'll let you know anything specific worth preparing for your particular repair.